The Tiny Bloom

First off, how does the name “The Tiny Bloom” sound? After making this design, I began to think of names. All these times I’ve never really named any of my patterns. They’ve been simple crochet/knitting techniques used in those very patterns. They’re like “knit the easiest socks ever”, “how to crochet a potholder, crochet knot pillow” and so on. I feel that having a product or pattern that has their own names are super fancy and are also unique from one another. So here’s my first ever named pattern, “The Tiny Bloom“. Yaayy!!

About The Tiny Bloom:

This particular pattern is very dear to me. A flower in its full bloom is the zenith of its unique beauty, fragrance and maturity, radiating all sorts of positive vibes. So even the smallest wild flower holds the same value. 

I want this to be a constant reminder and reflect on my personal life as a growing and ever learning youth. I could certainly take my creativity to its peak and bloom there for as long as I could. I chose purple (both are different shades of purple) for all it represents; elegance, creativity, confidence, grandeur, peace, wisdom, independent, mystery, magical and of course nobility. So now you know. 

Materials and supplies:

  1. Hook Size – 2.5 mm

  2. Yarns: Embroidery yarn, 2 colors. A – color for the body of the flower, and B – color for the vines.

  3. Wide eye needle and a small sewing needle
  4. Scissors
  5. 3 white beads

  6. ) A jewelry chain

Constructions:

This beautiful necklace is a very easy and quick to make pattern. It’s constructed in just one round and a series of chains. Anyone who knows a little bit of crochet can easily and beautifully create this pattern. Also you can even put one of your own creativeness and explore the possibilities of variations. It is made in 2 parts which are explained below. Enjoy the pattern.

Part 1: Making the floral piece

A floral piece having 5 petals is constructed on a single round using basic crochet stitches. I have already put up the pattern here and also on my YouTube channel. You can watch it right here; 


That was super simple and easy right? So then, the next step is to construct the vines which is just made out of long chains in green color yarn. Don’t worry, I’ll link all that is required to learn here.

Part 2: Making the Vine:

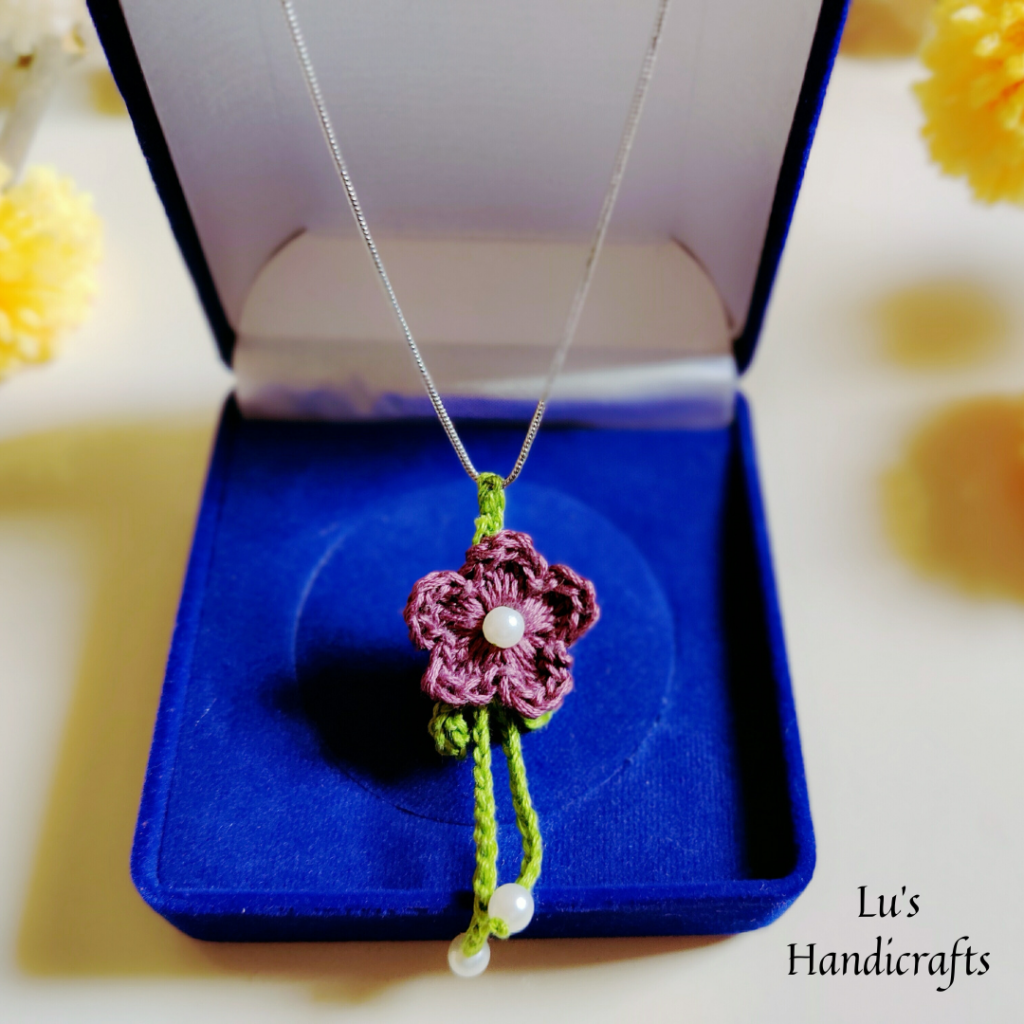
– With green color, ch 50 or more depending on how long you want your vine to be.

Then you make the long chains into a bow, just like a shoe lace knot. And we’ll just attach that to the floral piece and that’s it.

Bail: This is the small loop that connects the pendant part to the chain. To make this, ch7 and slp st it to the first ch forming a ring. And we will attach this to the top of the floral part later on. 

NB: This will be stitched last after centralizing the vine section. So do not stitch this part first.  And there’ll be the use of beads too, so its best if you watch the video provided below.

 Attaching the vines to the body:

In this part the vines are attached to the body by a simple wip stitch. For more details, watch the video below. 

And so that’s it. It’s pretty simple right? Yea I love this little thing of beauty. It just made me smile like an idiot after I completed it. I hope you like this pattern and video.


I also have the pdf version of this pattern where you can instantly download and print it out. So if you’d like to get that copy, click on the link below.

So, that’s the simplest and yet elegant pendant that we can crochet. I hope you like this pattern. When you make yours, do share your version with me on Instagram and Facebook group, so I can share it with the rest of the community and flaunt it off. Hehehe.. 

Thank you so much for reading the post. Stay creative, stay blessed. Great time ahead.

            Copyright © 2021 Lu’s Handicrafts     

This design, the written pattern and images are a copyright of Lu’s
Handicrafts and may not be copied or reproduced in any way whether on paper or
electronically.  You have permission to
sell the finished products made from this pattern, but please leave a link to
my website,
www.lushandicrafts.in, in your product listing specifying
that Kinjinlu Khumba is the designer of this pattern. Thank you for supporting
me.


If you have any trouble with this pattern, find errors or want to give
feedback, please feel free to contact me at
lushandicrafts@gmail.com

Thank you.


Leave a Comment

Your email address will not be published. Required fields are marked *