Crochet the perfect balls

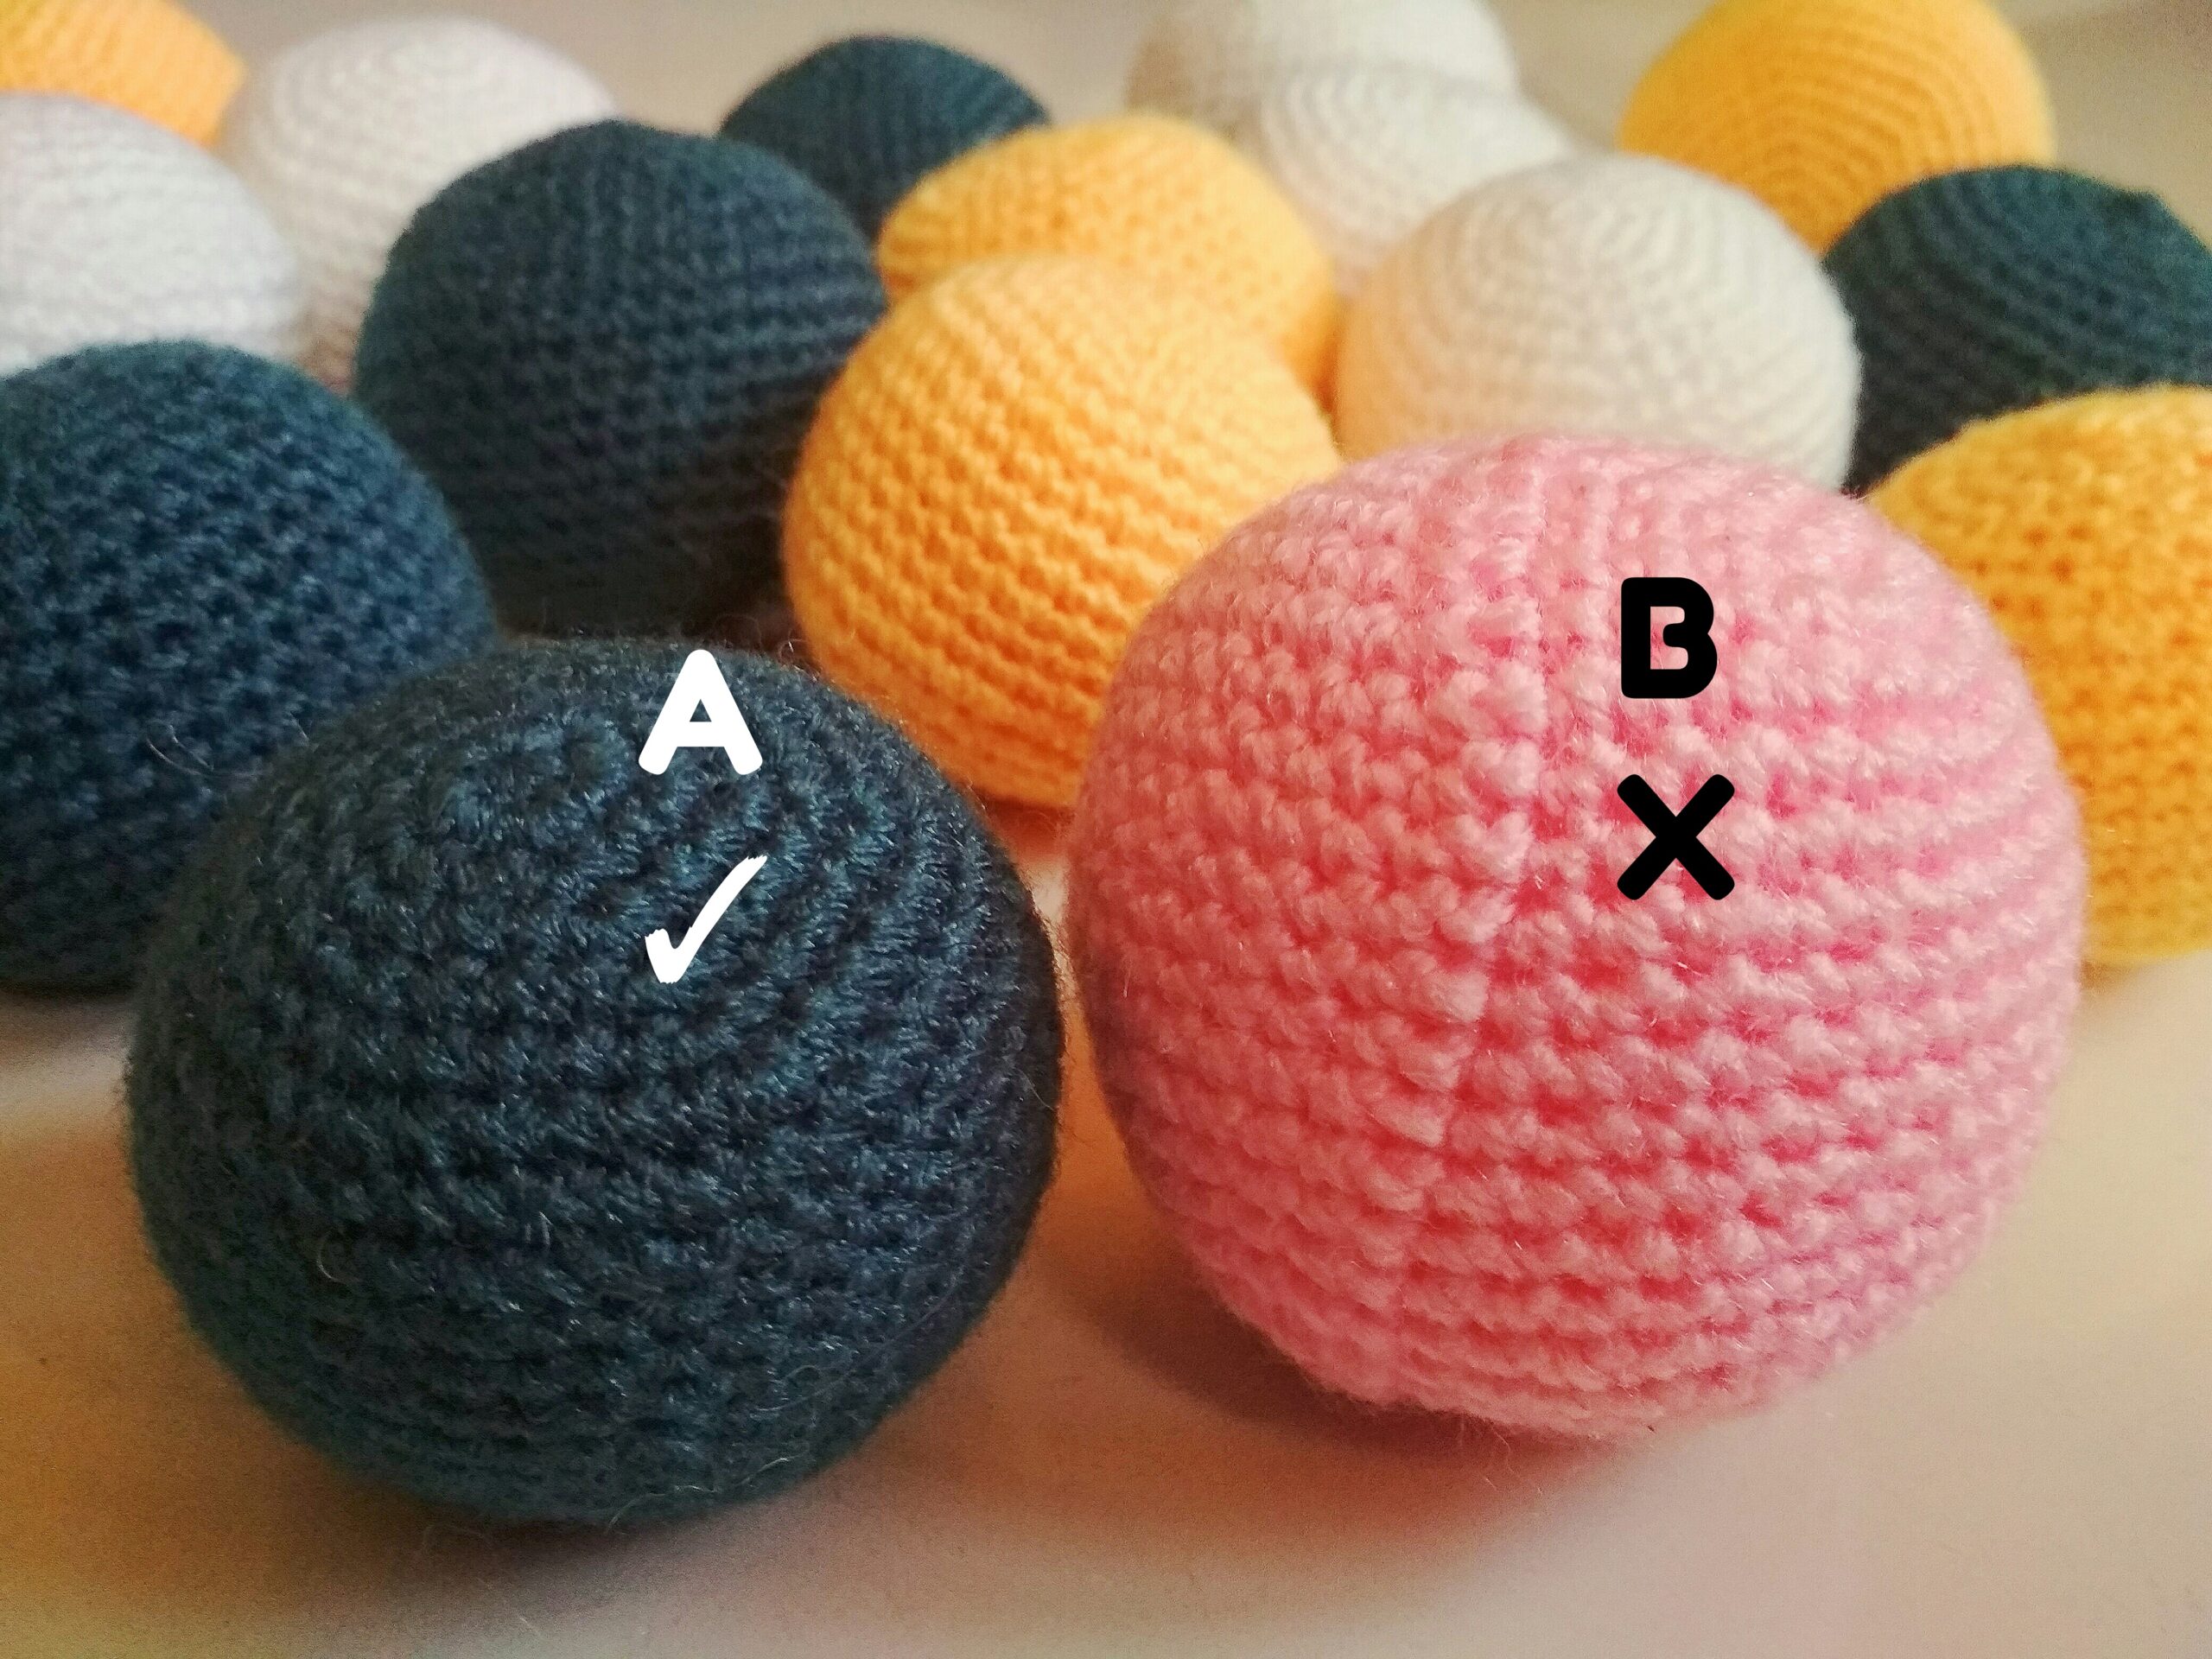
So to crochet a ball perfectly, you don’t need a magic trick. Just a little change in the steps of construction is what will give you the result. Now, there’s no hard and fast rule as to how to crochet but you can really explore around with your skills and see where it takes you. In the image below, there’s 2 types of balls crocheted using 2 different approach. And I’m gonna show you one method.

Anyway here, I’m gonna show you how to create the lil perfect ball which is smooth and transitions really well through each row.

So follow along and make some cute little balls.

Supply:

1) 2.5 mm to 3mm hook

2)Yarn of your choice. I’m using worsted weight yarn

3) Stitch Markers

4) Scissors

5) Needle

6) Polyester fillings

Here are some of my favorite materials and supplies. Check them out. This includes an affiliate link and if you happen to make a purchase I get a small commission, at no extra cost to you.

And it would be such an encouragement to maintain and keep running this website and keep updating new patterns. Thank you very much. 🙂

Click on the images for more details

Abbreviations: ( US terminology)

1) sc – single crochet

2) slp st – slip stitch

3) ch – chain

4) R – row

5) inc – increase

6) sc2tog – single crochet 2 together

Pattern:

R1: 6 sc into magic ring

R2: 2sc inc – all around

R3: 1sc, 2sc inc – all around

R4: 2 sc, 2sc inc – all around

R5: 3 sc, 2sc inc – all around

R6: 4 sc, 2sc inc – all around

R7: 5 sc, 2sc inc – all around

R8-16: 1sc all around

R17: 5 sc, sc2tog – all around

R18: 4 sc, sc2tog – all around

R19: 3 sc, sc2tog – all around

R20: 2 sc, sc2tog – all around

Stuff the ball with soft toy fillings

R21: 1 sc, sc2tog – all around

R22: sc2tog all around 

sc2tog 1 more time, slp st into the next st, ch1 and cut off the yarns.
Now, thread in the yarn to the needle. Pass the needle from the centre of the ball’s bottom and come out on any other side of the body. Going into the same space from where the yarn had come off, let the needle come off on any other part of the body. Repeat this till the remaining tail is hidden. 

And that is it. Simple and smooth crochet making your work look more professional. 

You can also check out the visual tutorial here.

There’s so much more that can be done with these balls. If you have leftover yarns which are not enough for a bigger project, just turn them into these cuties and you can check out here what to be expected of them. 

Do tag me on social media pages if you crochet one of these using this simple method. Thank you for your support and visiting my page. Stay blessed!

            Copyright © 2021 Lu’s Handicrafts     

This design, the written pattern and images are a copyright of Lu’s Handicrafts and may not be copied or reproduced in any way whether on paper or electronically.  You have permission to sell the finished products made from this pattern, but please leave a link to my website, www.lushandicrafts.com, in your product listing specifying that Kinjinlu Khumba is the designer of this pattern. Thank you for supporting me.


If you have any trouble with this pattern, find errors or want to give feedback, please feel free to contact me at lushandicrafts@gmail.com. Also a visual tutorial is available on my YouTube channel, Lu’s Handicrafts, if you need further assistance.

Leave a Comment

Your email address will not be published. Required fields are marked *